Customers will notice that when loading in records into a batch, the delete step is still triggered even if there are no records to delete. This step does add to processing time. If you are experiencing low performance because of these delete tasks, you can turn delete off in your routine integration batch jobs and create a dedicated delete job to handle deletes in the UI and special ETL requests. This KB article will show you how to remove the delete task from your batch, and how to create a separate delete job to handle deleted records.
Disable Delete Task from the Job
You will first want to disable the delete task from the job that handles your loads. To do this you will want to add the PARAM_ENABLE_DELETE_PHASE to your Job Parameter. To skip the delete phase, set this parameter value to 0.

Now you have removed the delete task from your load job.
Create a new Delete Job
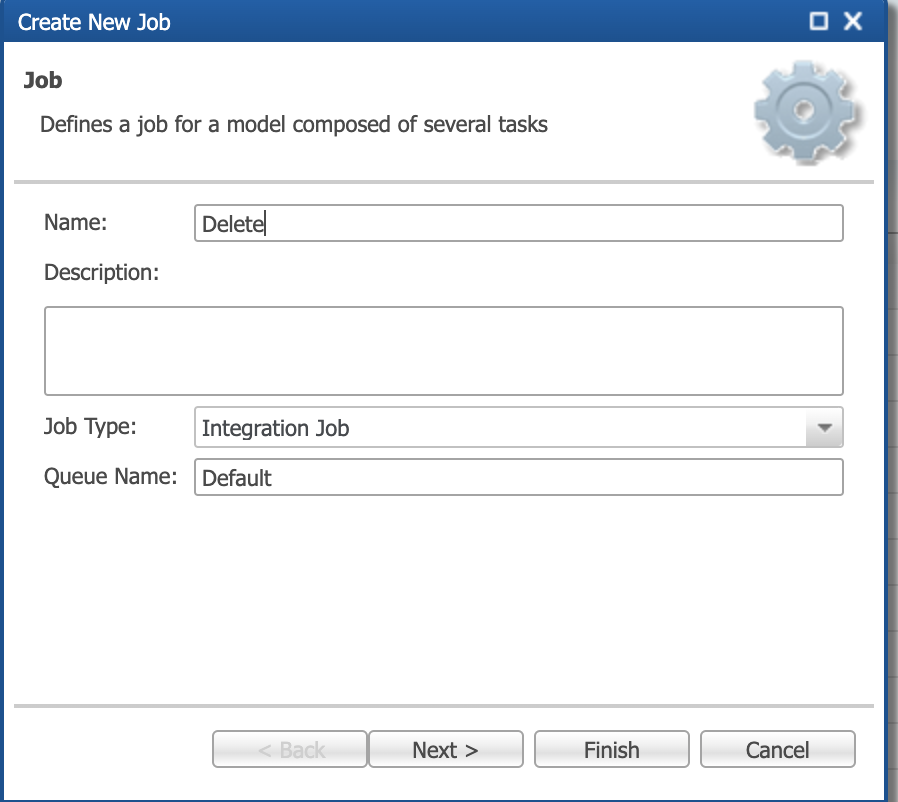
Now in your model, you will create a new delete job.
Name the job
Assign the entities that you want to process in this job
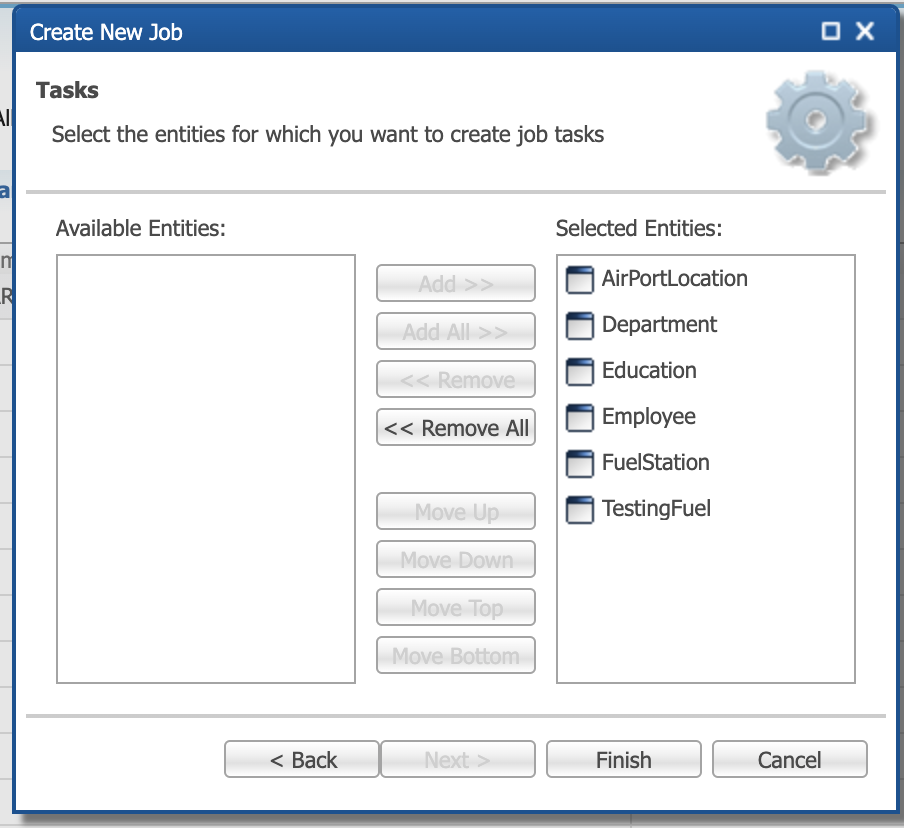
Select Finish.
Trigger Delete Job in the UI
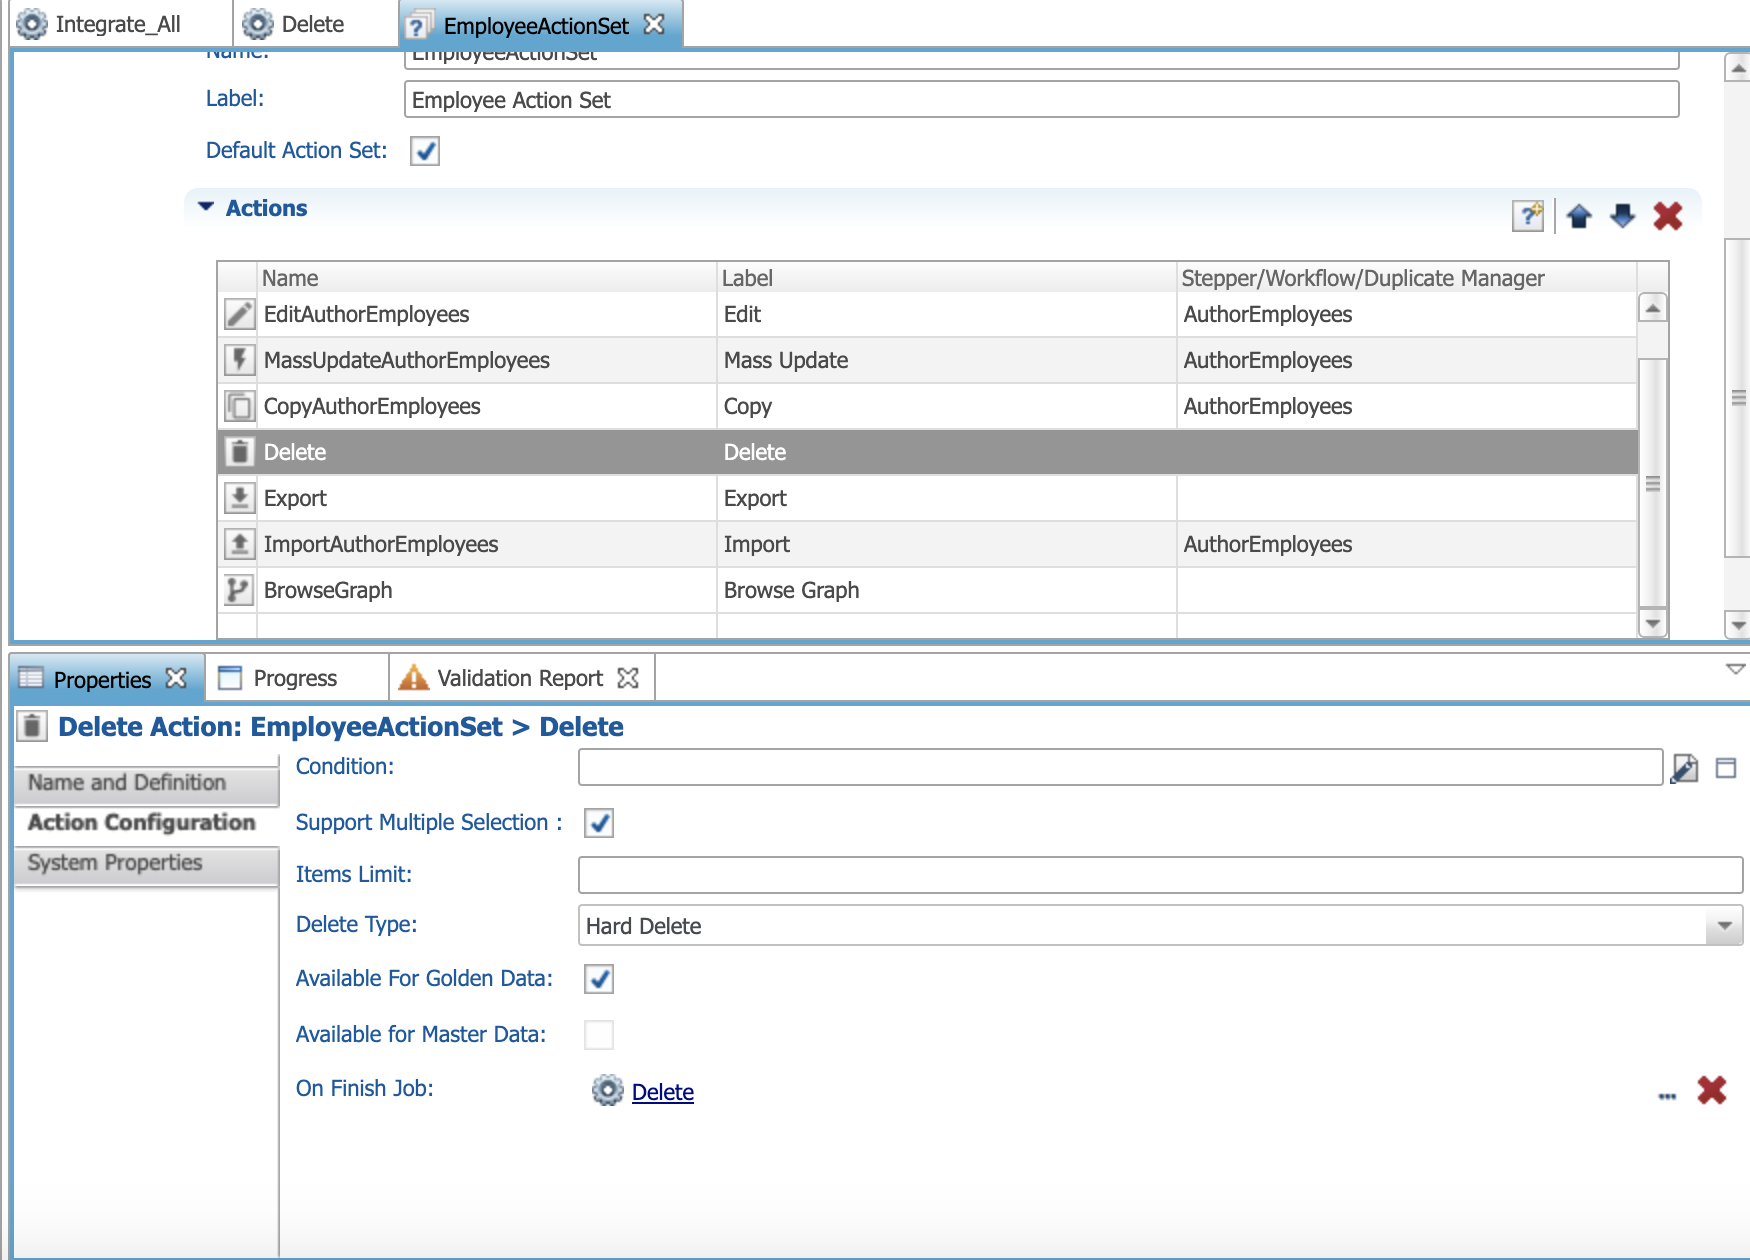
In your model design, navigate to the action set for the entities defined above in your job tasks.
In the Action Set, select the delete step.
Then navigate to the Action Configuration. You will want to assign the newly create delete job to he On Finish Job.
Save your model and then deploy.